BY AARDE WRITES for WEEKLY VOLCANO 7/18/25 |
Hey Aarde,
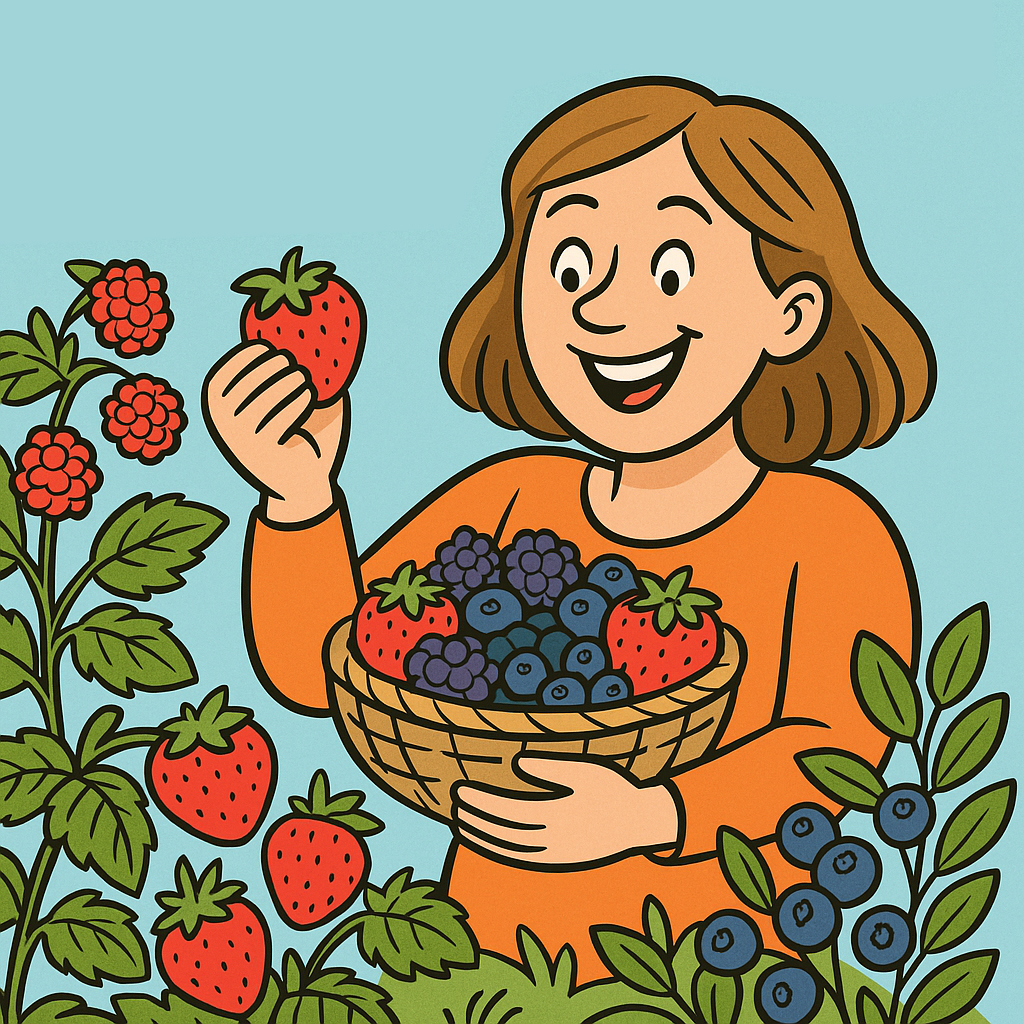
I don’t know what it is about this summer, but all of my plants are producing like I’ve never seen! My raspberries are dripping off the vine, my strawberries are bright and healthy, and I even have a surplus of blueberries forming on a bush that I’ve been neglecting for years! Typically, there’s just enough to pop in my mouth as I pass by, but this year I feel like I’m drowning in berries! I’m afraid to let any of it go to waste, but I’ve never canned anything—and to be honest, I’m a little scared of the process. I don’t want to blow myself up. I’m wondering, is this the year I bite the bullet and go for it? How hard is it to be a successful canner? What do I need to get started?
Signed,
Bumper-Crop Pioneer
Hey Bumper-Crop Pioneer!
My older sister went to culinary school when I was just a kid in primary school. Still, there are things I remember clearly about her journey—such as her ability to turn a simple radish into a tiny mouse with cloves for eyes, the most delicious no-bake peanut butter cookies that I couldn’t even tell had oatmeal in them, and a perfectly tart raspberry freezer jam that was heavenly when spread across Swedish pancakes. So, in honor of my sister, I suggest freezer jam as your first adventure; I am confident that with the high success rate and delicious return, you’ll be pleased.
Learning to preserve food is a fundamental skill that we should all have in our toolbox, even if it’s the most basic and simplified of recipes. Not only is freezer jam the easiest introduction to canning, but it is also a pleasure to share! I’ve made multiple batches already, and I love seeing my friends’ gratitude when they get their very own jar. The thank-you notes that come in the dead of winter, when everything is cold and gray, make my heart sing. Freezer jam lacks a fully pressurized seal, which makes its shelf life shorter unless it is frozen. The typical recipe is good for up to one year in the freezer and up to thirty days in the fridge. After that timeframe, it is susceptible to bacteria (like any store-bought jam). I’ve included a freezer jam recipe and instructions below for you to try!
Once you’ve mastered freezer jam, you should feel confident attempting the water bath technique—a suitable approach for other foods you may want to preserve, such as pickles or other highly acidic foods, as the acid assists in keeping bacteria at bay. (Simply stated: you would choose your method based on what you are canning—water bath for high acid, pressure canning for low acid foods.) This approach involves a large pot or boiling water canner with a rack, canning jars with lids and bands, a jar lifter, a canning funnel, a ladle, and a timer. You can easily find instructions online if you choose to use this method.
Now, even though pressure canning can be intimidating, once you understand the science of it, it can become a fantastic resource skill to have. Pressure canning uses a specialized pressure canner cooker that heats jars of lower-acidic foods to 240 degrees, creating a vacuum seal that prevents bacterial growth, such as botulism. Just make sure to read the instructions that come with your pressure cooker or research safety instructions online before beginning. Always remember: safety first, and you should be fine.
Regardless of the canning method you choose, there are basic canning steps that apply—such as sterilizing your jars and tools properly. You can easily find directions online or in the many chapters in homesteading books available at your local bookstore or library. Here is a quick link to a great reference page:
https://www.gov.mb.ca/inr/pdf/pubs/nhfi_basics_canning.pdf
A few final thoughts: I’ve heard many friends and colleagues talk about their bumper crops this year—an abundance of plant production has everyone wondering what to do with their harvests. Bumper crops are often seen as a net positive since we reap such sweet rewards, but let’s keep in mind that they usually deplete our soils for next year’s harvest. Come fall, we must replenish our soil with nutrients so we can enjoy the bounty next year as well. And for those of you who live a smaller footprint, you too can make fresh freezer jam to enjoy during our long winters by visiting Charlotte’s Blueberry Park during peak season for delicious blueberry jam—or pulling over when you see blackberries in an area most likely untouched by insecticides. You too should enjoy the sweet treat that only blackberries can produce! I bet if you ask your friends or neighborhood social media groups, someone will let you pick raspberries from their garden. Promise you’ll bring them a jar of jam—sharing is caring!
Here is a great freezer jam recipe! It only requires about ten minutes of hands-on time with just a few ingredients.
You will need:
- Six 4-oz jars
- 2 cups raspberries
- 4 cups granulated sugar (I prefer coconut sugar and get away with only 3 cups)
- One 1.75-ounce packet powdered pectin
- 3/4 cup warm to hot water
- 2 tablespoons fresh lemon juice
- 2 teaspoons vanilla extract
Set aside your jars after sterilizing them. In a large bowl, mash your raspberries so that they are slightly lumpy (I prefer to leave a few bigger chunks), and ensure you have two full cups of crushed fruit. Stir in the vanilla and sugar until it is fully dissolved into the berry juices, then transfer to a small saucepan on low heat to bring to a boil.
In the meantime, grab a small bowl and combine the lemon juice, pectin, and warm water. Once the berries are simmering, add the lemon/pectin mixture to the saucepan and bring all ingredients to a boil for one full minute. Remove from heat and stir for three minutes. The jam should show evidence of setting (a film will form on the top that wrinkles when stirred), which lets you know it’s ready to be ladled into the clean jars you’ve set aside.
Make sure to leave 1/2 inch of headspace between the fill line and the lid to allow for the jam to expand as it freezes. Let it sit for 24 hours at room temperature, then store in the fridge (for up to 30 days) or freezer (for up to a year). I like to decorate my jars with little sticky notes that include the date I made them and how long they’re safe to eat in the different storage scenarios we just discussed. Enjoy!